When it comes to maintaining your computer, one of the most overlooked aspects is cleaning the Windows registry. The Windows registry is a crucial part of your operating system that stores configuration settings and options for both Windows and installed applications. Over time, it can accumulate junk files, outdated settings, and errors, leading to slower performance and even system crashes. In this article, we’ll show you how to clean the registry in Windows 10 safely and effectively, ensuring your system runs smoothly.
What is Registry?
In simple words, The Windows Registry is like a big database where Windows stores important settings and information for both the operating system and installed programs. It keeps track of things like which programs to run at startup, user preferences, device settings, and much more. These settings are critical for the operation of Windows and its software components.
When you make changes on your computer, like installing a new program or adjusting system settings, the Registry is updated to reflect those changes. It helps Windows run smoothly by remembering all these details, so everything works the way it should. Think of it as a giant list of instructions that your computer follows to run everything correctly.
Why You Should Clean the Registry in Windows
Before we dive into the process, let’s take a moment to understand why cleaning your registry is important:
Improved System Performance
- A cluttered registry can slow down your computer, causing lag when opening applications or booting up Windows. Cleaning the registry removes unnecessary entries and helps your system run faster.
Fix System Errors:
- Over time, registry errors can accumulate, causing system instability and crashes. Cleaning your registry removes these errors and can resolve issues like application crashes or slow startup times.
Free Up Disk Space:
- The registry stores a variety of information, including software settings, user preferences, and system configurations. By cleaning the registry, you can free up valuable disk space that would otherwise be taken up by obsolete data.
Prevent System Crashes:
- By removing outdated or corrupt entries, you reduce the risk of system crashes, ensuring your PC remains stable and reliable.
How to Clean the Registry in Windows 10: Step-by-Step
Cleaning the registry in Windows 10 may seem daunting, but it’s relatively straightforward if you follow these steps. Here’s a guide to help you clean the registry effectively and safely.
1. Backup Your Registry
Before making any changes to your registry, it’s critical to back it up. Editing or cleaning the registry incorrectly can cause serious issues, so always have a backup on hand. Here’s how you can back up your registry in Windows 10:
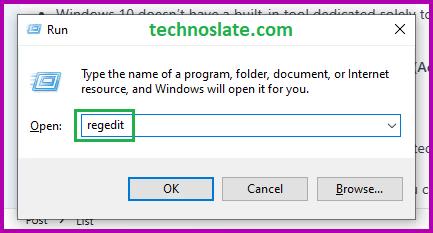
- Press Windows + R to open the Run dialog box.
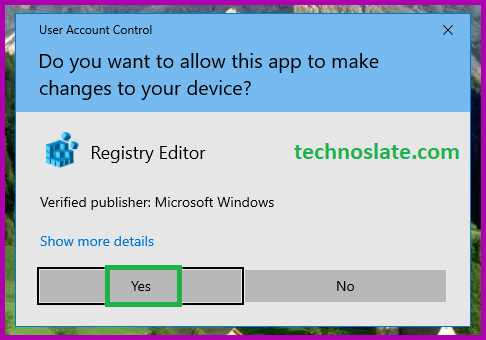
- Type regedit and hit Enter to open the Registry Editor.
- In the Registry Editor, click on File and then Export.
- Choose a location to save the backup file and give it a name (e.g.,
Registry_Backup). Ensure that All is selected under Export range and click Save.


This will create a backup file that you can restore in case something goes wrong.
2. Use the Built-In Registry Cleaner (For Simple Cleanups)
- Windows 10 doesn’t have a built-in tool dedicated solely to cleaning the registry. However, you can use the System File Checker (SFC) and DISM commands to fix some of the registry-related issues:
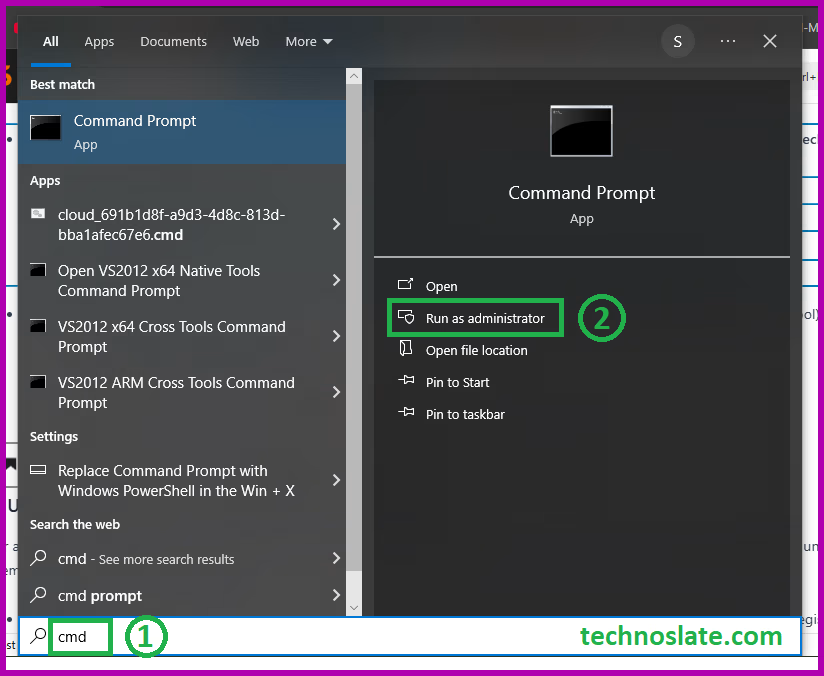
- Press Windows button and type cmd and select Run as administrator.
- Type the following command and hit Enter:
- sfc /scannow
- sfc /scannow
- Once the scan is complete, it will fix any issues related to system files, including some registry problems.
- Press Windows button and type cmd and select Run as administrator.

- After running SFC, if you’re still facing registry issues, you can use DISM (Deployment Imaging Service and Management Tool):
- Open Command Prompt (Admin) again as we did previously.
- Type the following command and press Enter:
- DISM /Online /Cleanup-Image /RestoreHealth
- Wait for the process to complete, which may take some time. Once finished, restart your PC.
This can help resolve deeper issues with your registry and system files.
3. Use a Registry Cleaner Tool (For Advanced Cleaning)
For a more thorough registry cleanup, you can use third-party registry cleaner tools. These tools scan your registry for outdated, unused, or corrupt entries and remove them automatically. Popular options include:
- CCleaner: One of the most widely used registry cleaners, CCleaner offers a user-friendly interface that lets you clean your registry with just a few clicks. You can read here step-by-step process about registry cleaning using CCleaner.
- Wise Registry Cleaner: This tool provides a fast and efficient way to clean your registry and fix errors.
- Auslogics Registry Cleaner: Known for its safe and effective cleaning process, this tool ensures that no important data is accidentally deleted.
4. Manually Clean the Registry (Advanced)
If you’re an experienced user, you can manually clean your registry. However, be cautious, as making changes to the registry can cause serious issues if done incorrectly. Here’s how to manually clean the registry:
- Press Windows + R, type
regedit, and press Enter to open the Registry Editor. - Navigate through the registry keys to find obsolete or unnecessary entries. Common registry areas to check are:
HKEY_LOCAL_MACHINE\Software\Microsoft\Windows\CurrentVersion\UninstallHKEY_CURRENT_USER\Software\Microsoft\Windows\CurrentVersion\Explorer\RunMRU
- Delete any entries that you are sure are no longer needed or that belong to programs you no longer use. Be careful not to delete system-related entries.
If you’re not familiar with registry entries, it’s better to avoid manually cleaning them and instead use a dedicated tool like CCleaner.
5. Restart Your Computer
After cleaning the registry, restart your computer to allow the changes to take effect. Your system should now run more smoothly with fewer errors and improved performance.
Tips for Maintaining a Clean Registry
- Avoid Over-Cleaning: Running a registry cleaner too often may cause issues with legitimate entries. Use it sparingly—once every few months is usually enough.
- Be Cautious with Third-Party Tools: While registry cleaners can help, make sure to download them from trusted sources to avoid malware.
- Keep Software Up to Date: Regularly update your software and drivers to minimize the chances of registry errors.
- Use a System Restore Point: If you’re making manual changes to the registry, always set up a system restore point to revert to in case something goes wrong.
Conclusion
Cleaning the registry in Windows 10 can significantly improve your computer’s performance, fix errors, and enhance stability. Whether you choose to use built-in tools, third-party registry cleaners, or manually edit the registry, ensure that you take proper precautions, such as backing up your registry before making any changes.
By following this guide on how to clean the registry in Windows 10, you can keep your system running efficiently and free from unnecessary clutter. Regular maintenance will ensure that your PC stays in top shape, preventing slowdowns and crashes for a smoother computing experience. I hope this post helped you to find ways about cleaning the registry. If you found this post useful then share it with your friends and relatives so that they can also get help. You can read more such interesting articles here.
ye achha tha bro. windows 10 ke liye registry tricks ka ak blog bhi likhna.
Just browsing and found this site.
Now I definitely recommend this website if you want reliable information about laptops and hardware upgrades.